Quick Summary
- A crossarm inspection drone shows the top of the arm, the bolt holes, and the hardware that a ground patrol looks at from below.
- Most crossarm trouble starts where water sits: the top surface, the bolt holes, and the area around the king bolt.
- Good findings need a consistent photo set per arm, a clear severity grade, and a fast path to a work order.
- Utileyes, drone inspection software for utilities, organizes crossarm photos by asset, flags misplaced images, and lets reviewers tag severity to your own standards.

A crossarm inspection drone gives your crew a close, clear look at the parts of a crossarm that are hardest to judge from the ground. That includes the top surface, the bolt holes, the braces, and the hardware that holds everything together.
Utileyes is drone inspection software for utilities that turns those photos into graded findings and dispatched work. This guide covers what to capture, what to look for, and how to grade crossarm condition so the right arms get replaced first.
A crossarm is the horizontal member near the top of a pole that carries insulators and conductors. When one fails, it can drop a phase, cause an outage, or bring down the line it supports.
Why use a crossarm inspection drone instead of a ground patrol?
A drone puts the camera above and beside the crossarm instead of on the ground below it. That angle shows the top surface, where water collects and decay often starts. A ground patrol mostly sees the underside and the edges. A drone also captures a photo record your team can review, compare, and grade later.
Ground patrols still catch obvious damage like a broken arm. Early splits, soft wood around a bolt, and surface rot on top of the arm are easy to miss from below.
Climbing or a bucket truck gives a close look, but it costs crew time and a truck roll for every pole. A drone lets one pilot work through many structures, and the reviewer sees every arm from the same angles.
There is also a data problem with older methods. Research on in-service timber crossarms notes that conventional inspection relies on visual checks and sounding, which are subjective. In one study of 110 decommissioned timber crossarms, about 35 still tested at strength levels the researchers linked to light deterioration, even though they had been condemned. Better imagery and consistent grading help crews make that call with more confidence.
What crossarm defects can a drone find?
A drone can find most visible crossarm defects: splits and checks, surface decay on top of the arm, enlarged or weathered bolt holes, loose or missing braces, corroded hardware, burn or tracking marks, and arms that are twisted or sagging. It cannot measure internal strength, so hidden decay still needs testing when photos raise a concern.
Splits and checks
Checks are cracks that open along the grain as wood dries. Splits run deeper and can go through the arm. Published research on in-service crossarms found that splitting from bending was the most common damage pattern. Photos from above and from each end show how far a split runs.
Top-surface decay
The top of a wood crossarm holds water after every rain. The same research identifies moisture on bolt holes and the top surface as a major cause of faster decay. Look for dark, soft-looking areas, moss or growth, and wood that looks crumbly or eroded.
Bolt holes and the king bolt
The king bolt is the main bolt that fastens the crossarm to the pole. Researchers found the highest stresses sit around the king bolt, which makes it the critical region of the arm. Enlarged holes, crushed wood under washers, and staining around bolts all deserve a close photo.
Braces and hardware
Braces keep the arm level and carry load back to the pole. Check for loose, bent, or missing braces, backed-out bolts, and rusted hardware. A tilted arm often points to a brace problem.
Burn and tracking marks
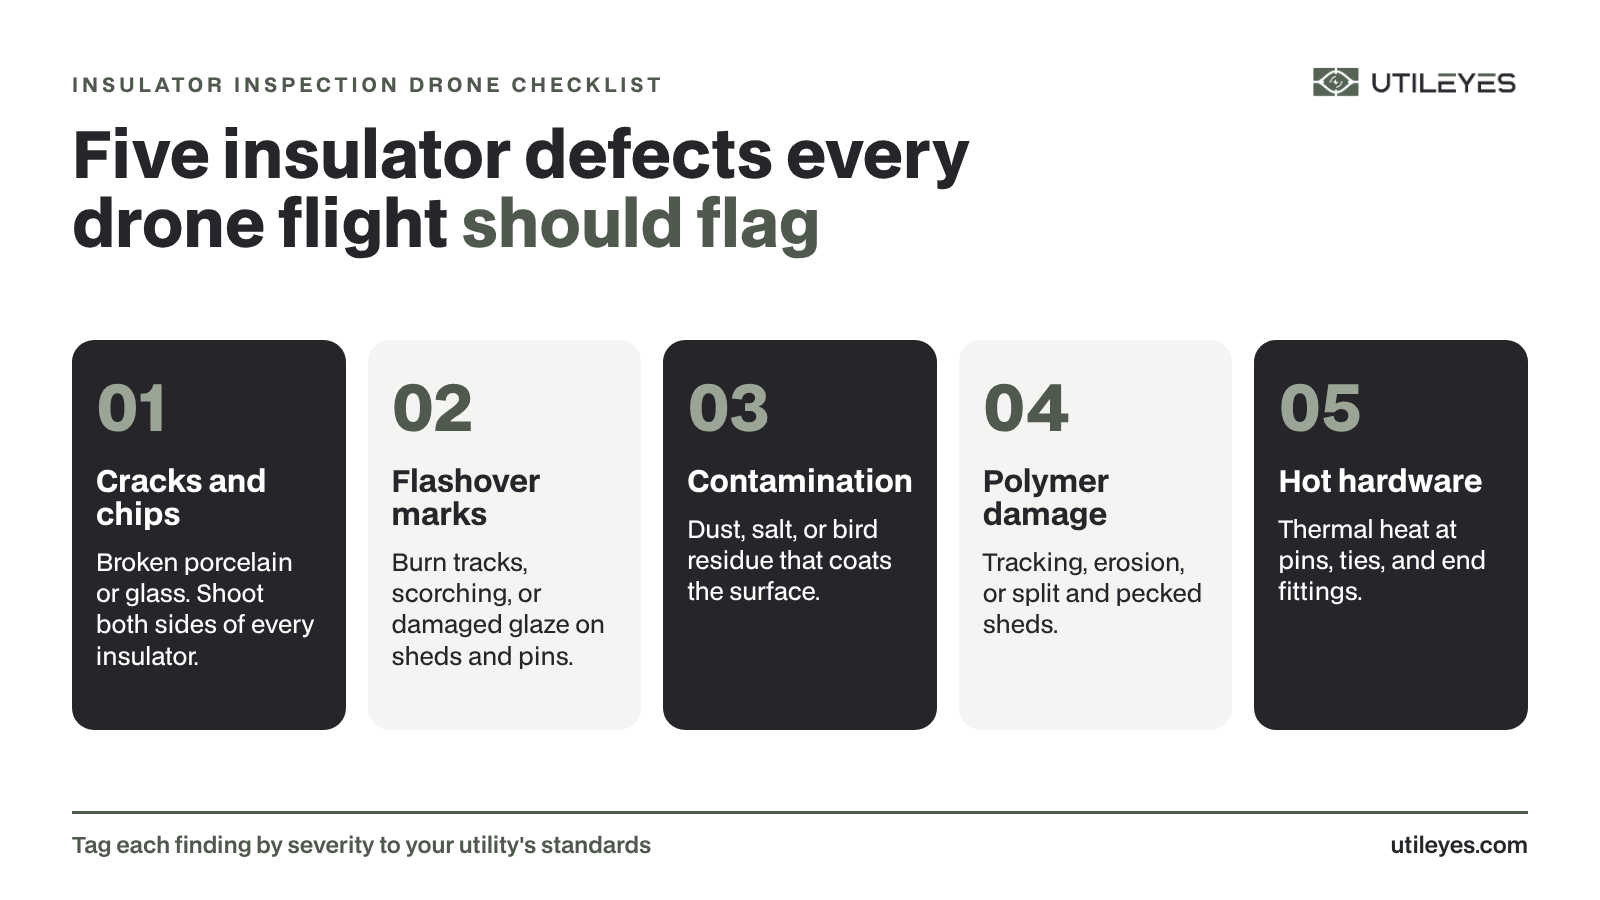
Tracking is a burned path that forms when leakage current runs across a surface. On a crossarm, it often shows up near insulator pins or hardware. These marks can signal an insulator or contamination issue worth flagging with the arm.
Which photo angles show crossarm condition?
Every crossarm needs four views: the top surface from above, both ends, the king bolt and pole connection, and the braces and hardware. Capturing the same views on every structure lets reviewers compare arms fairly. It also means nobody has to send a pilot back because a key angle is missing.
- Top surface: A high, slightly angled shot looking down the length of the arm. This is the view a ground patrol rarely gets.
- Both ends: End grain shows checks, splits, and decay that start at the cut face.
- King bolt and pole connection: A close shot of the main bolt, washer, and the wood around it.
- Braces and hardware: Both braces, their bolts, and the attachment points on the pole.
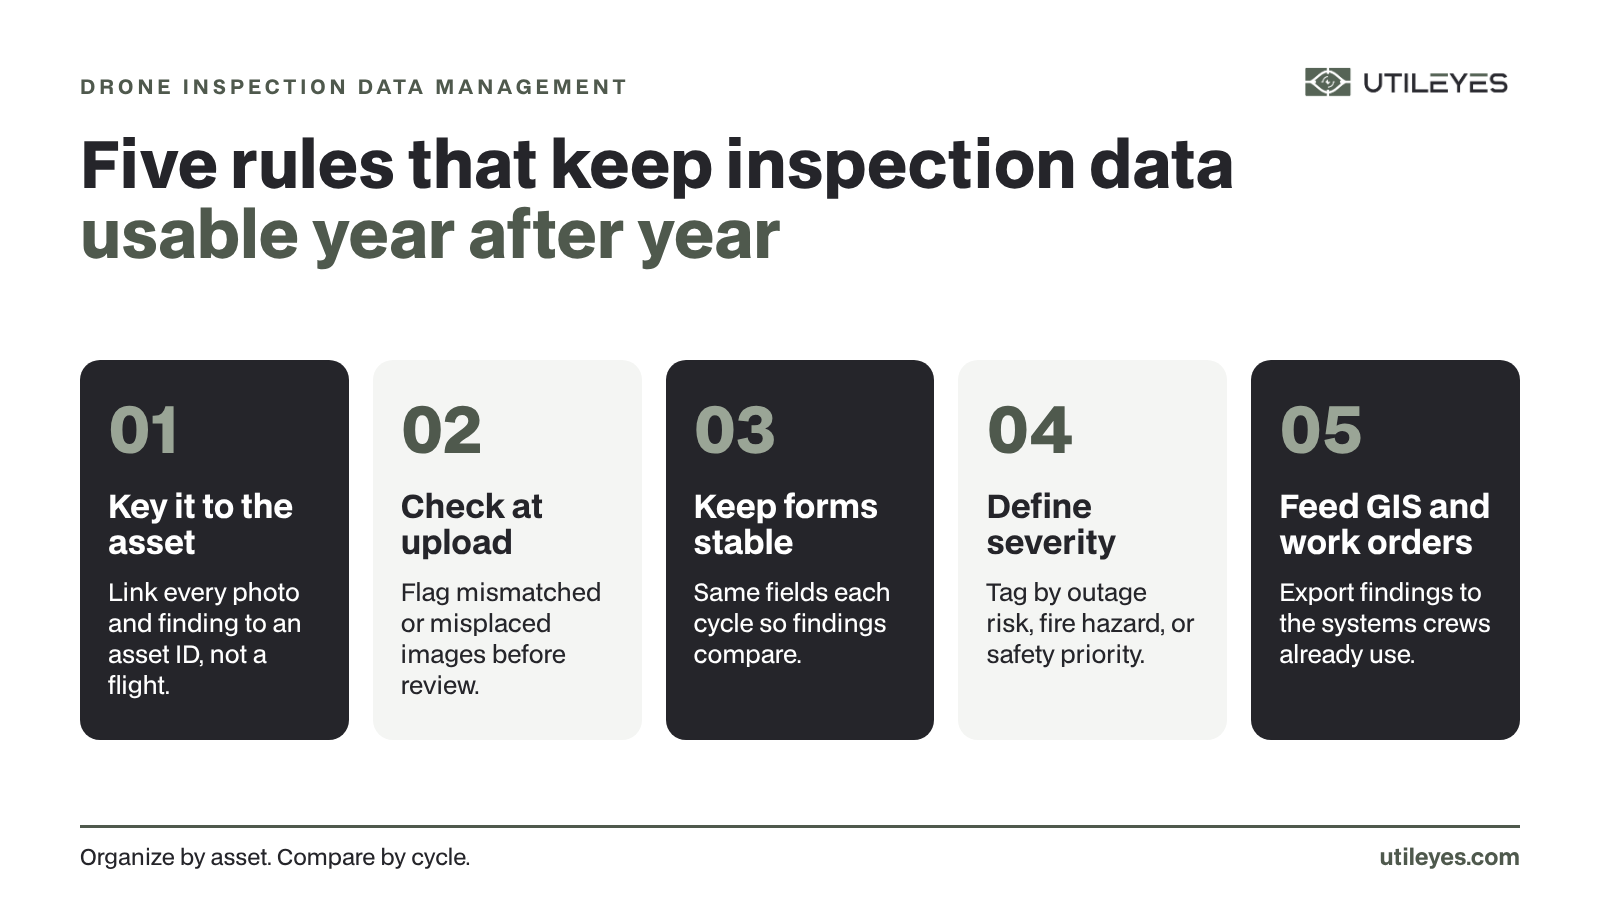
Keep the shots tied to the right pole. In Utileyes, drag-and-drop uploads are auto-organized by GPS location and asset ID. Built-in QA flags mismatched or misplaced images during upload, so a missing angle or a photo filed under the wrong pole gets caught before review. For more on capture planning, see our insulator inspection drone checklist, which pairs well with crossarm shots on the same structure.
How should crews grade crossarm findings?
Grade crossarm findings by how soon the arm could fail and what it would take down with it. A simple three-level scale works for most crews: replace now, schedule repair, and monitor. Tie each level to clear visual signs so two reviewers looking at the same photo reach the same grade.
| Severity | What the photos show | Typical action |
|---|---|---|
| Replace now | Through-split at or near the king bolt, broken or sagging arm, missing brace with a tilted arm, heavy burn damage | Dispatch a crew and create a priority work order |
| Schedule repair | Deep checks, visible top-surface decay, enlarged bolt holes, loose or corroded hardware | Add to planned work and confirm with testing if needed |
| Monitor | Surface checks, light weathering, minor staining with sound-looking wood | Note in the record and compare on the next cycle |
Your utility's own standards should drive the exact criteria. Utileyes lets reviewers apply severity tags by outage risk, fire hazard, or safety priority, set to each utility's standards. Customizable inspection forms keep crossarm questions consistent from pilot to pilot.
Prioritization matters as much as grading. A "schedule repair" arm on a feeder that serves critical customers may move ahead of one on a quiet rural tap. Executive dashboards in Utileyes show coverage and anomalies so managers can see where the worst crossarm findings cluster.
Wood, fiberglass, and steel crossarms: what changes in the inspection?
The material changes what you look for. Wood arms fail mainly from decay, splitting, and bolt-hole wear. Fiberglass arms show surface wear and cracking around hardware. Steel arms show corrosion and bent members. The four-view photo set stays the same, but the reviewer's checklist shifts with the material.
| Material | Main things to look for | Photo focus |
|---|---|---|
| Wood | Top-surface decay, checks and splits, enlarged bolt holes, soft wood near the king bolt | Top surface, end grain, king bolt |
| Fiberglass | Surface weathering, cracks near bolt holes, damage at hardware points | Hardware attachment points, full length of the arm |
| Steel | Rust and corrosion, bent or twisted members, loose bolts | Connections, welds or joints, underside |
What does a crossarm inspection look like in practice?
A good crossarm inspection runs from flight assignment to dispatch without anyone re-sorting photos by hand. Pilots fly the assigned poles, uploads land under the right asset, reviewers grade each arm, and the worst findings move to crews quickly. With Utileyes, a photo captured in the field can reach a dispatched crew in as little as 15 minutes.
Here is how that flow works with Utileyes:
- Map the assets. Load poles from KML or CSV files, or generate asset points in flight.
- Assign the flights. Use the map-based lasso tool to assign pilots to poles and spans.
- Upload and QA. Photos are auto-organized by GPS location and asset ID, and mismatched images are flagged during upload.
- Review and grade. Reviewers work through the four views and apply severity tags. Side-by-side RGB and thermal review helps when hot hardware is part of the question.
- Send the work. Export to an ArcGIS/ESRI-compatible CSV, or push findings into the GIS and work order systems you already use.
The founders of Utileyes personally flew more than 10,000 utility inspections, and the platform was built with utility linemen and drone pilots. That field background is why the workflow follows how crews actually work a line. Utileyes helps utilities run inspections at about 50% lower cost than outsourcing to vendors. See the full workflow on our how it works page.
Frequently Asked Questions
Can a drone inspect crossarms on energized lines?
Yes. Drone crossarm inspections are commonly flown with lines in service, which avoids an outage for the inspection. Pilots should follow your utility's clearance and safety rules for flying near energized conductors.
How do you know when a crossarm needs replacing?
Through-splits near the king bolt, a broken or sagging arm, or a missing brace with a tilted arm usually call for replacement. Deep checks, top-surface decay, and enlarged bolt holes call for planned repair or testing. Your utility's standards should set the final criteria.
What causes wood crossarms to fail?
Decay, splitting from bending loads, and wear at the bolt holes are the main causes. Research on in-service crossarms points to moisture on the top surface and in bolt holes as a major driver of faster decay. Vibration can also enlarge bolt holes over time.
Can drone photos replace climbing or sounding?
Drone photos cover visible condition well, but they cannot measure internal strength. Use photos to screen every arm and focus testing on the arms that show warning signs. That keeps climbs and truck rolls for the structures that need them.
Do crossarm inspections need thermal imagery?
RGB photos carry most of the crossarm review. Thermal helps when you suspect hot hardware or a connection problem on the same structure. Utileyes supports side-by-side RGB and thermal review for those cases.
Get More From Every Crossarm Photo
A crossarm inspection drone is only as useful as the workflow behind it. Capture the same four views, grade findings the same way every time, and get the worst arms to crews fast. Utileyes was built in the field, not in a conference room, to make that work simple. Schedule a demo to see how your team can grade and dispatch crossarm findings from one place, or browse our FAQ for more answers.