Quick Summary
- An insulator inspection drone captures close, repeatable photos of every insulator on a pole, so reviewers can spot cracks, flashover marks, contamination, and polymer damage without climbing or using a bucket truck.
- RGB photos catch most physical damage. Thermal imagery adds a second layer by showing heat at pins, ties, and end fittings.
- Good insulator data depends on capture discipline: both sides, consistent angles, and every image tied to the right pole.
- Findings only help when they are tagged by severity and sent to a crew. Utileyes is built to move a photo to a dispatched crew in as little as 15 minutes.
An insulator inspection drone is the fastest practical way to get a close look at the top of a distribution pole. It photographs each insulator from angles a ground patrol cannot see, so reviewers can find damage before it turns into a flashover or an outage.
Utileyes is drone inspection software for utilities, built by people who flew utility inspections. This checklist covers what an insulator inspection drone can actually see, which defects to flag, and how to turn those findings into prioritized work for your crews.
The goal here is narrow on purpose. This is not a guide to buying drones or software. It is a field checklist for the insulator itself.
What can an insulator inspection drone actually see?
A drone with a good RGB camera can resolve chips, cracks, broken skirts, burn marks, and heavy surface contamination on insulators. A thermal camera adds heat patterns at hardware connections. Neither one measures the electrical condition inside an insulator, so drone findings show visible and thermal symptoms, not internal test results.
That limit matters. Some insulator problems start inside the part. For example, polymer insulators can degrade at the rod or seal before much shows on the surface.
Specialized tools exist for that work. A T&D World article describes an EPRI hot-stick detector designed to detect composite insulator defects that bridge about 18% of the insulator length. Drone imagery complements tools like that. It does not replace them.
What the drone does well is coverage. It puts a consistent, close view of every insulator on every pole in front of a reviewer, which is hard to match from the ground.
Which insulator defects should crews flag?
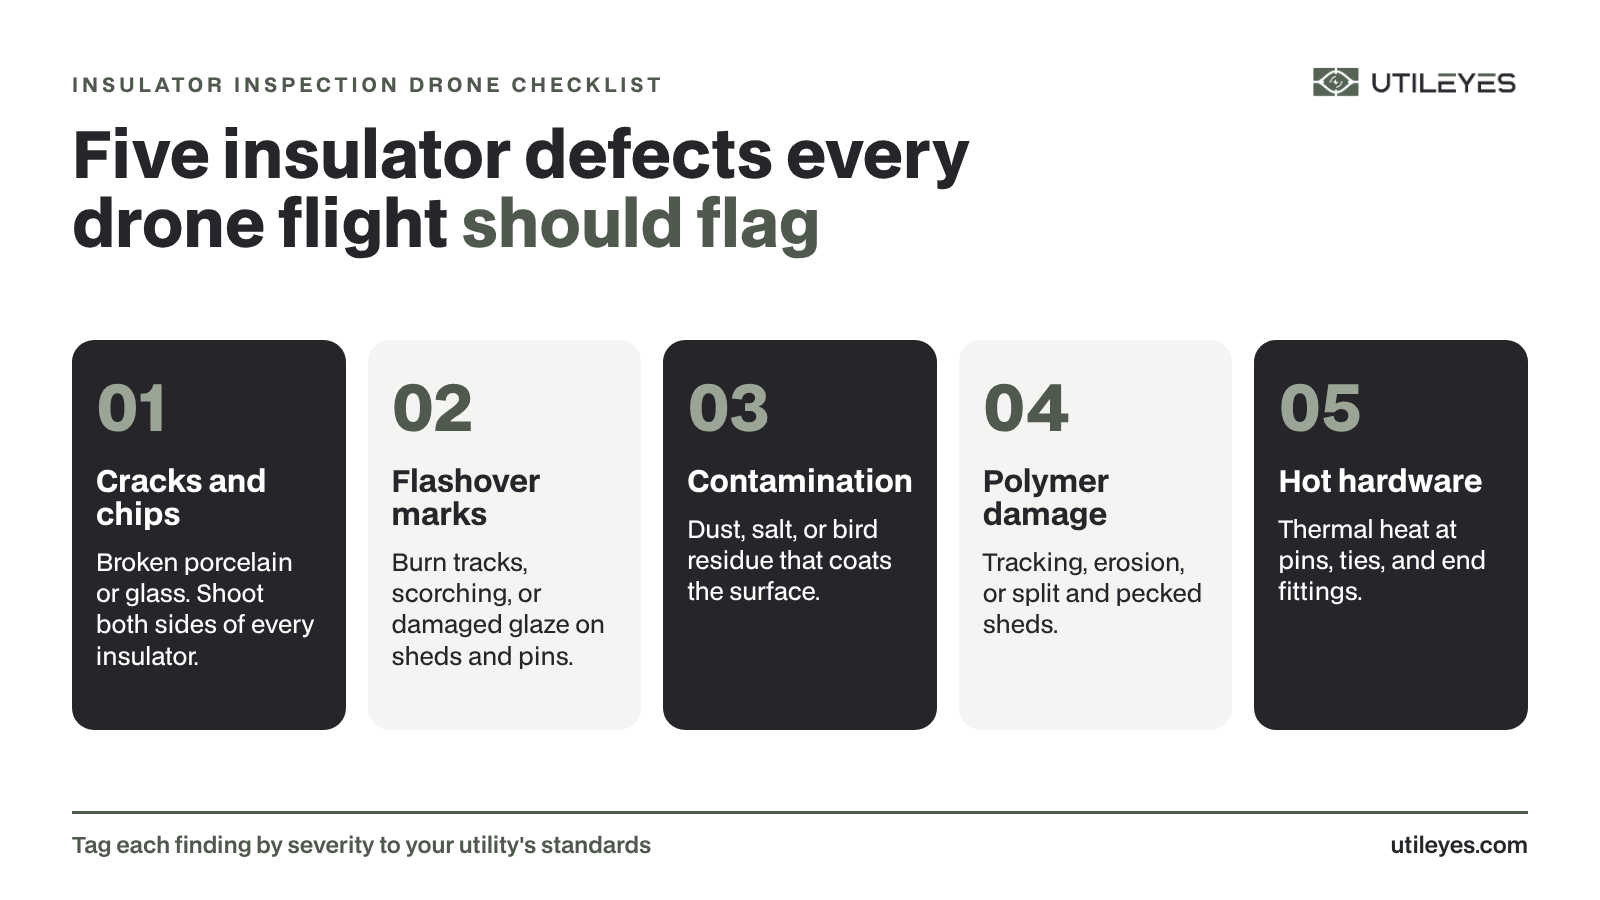
Flag five things on every insulator: cracks or chips, flashover and burn marks, surface contamination, polymer shed damage, and abnormal heat at hardware. Each one points to a different failure path. Tag them separately so the review team and the crew know exactly what they are looking at before anyone rolls a truck.
Cracks, chips, and broken skirts
Porcelain and glass insulators can crack, chip, or lose part of a skirt. Damage often sits on the side facing away from the road, which is why ground patrols miss it.
Flashover and burn marks
Look for scorching, tracking lines, or damaged glaze on sheds and pins. These marks show that current has already traveled across the surface at least once.
Contamination
Dust, salt, industrial residue, and bird droppings can coat an insulator. Contamination plus moisture is a known flashover risk.
A laboratory study of porcelain insulators, published in PMC, measured leakage current of about 1.8 mA on a clean sample. Under the heaviest contamination tested, peak leakage current reached about 64 mA. That is the kind of change that makes a dirty insulator worth flagging.
Polymer shed damage
Composite insulators can show tracking, erosion, split sheds, or bird pecking. Look closely near the end fittings.
INMR reports that corona activity can drop the surface pH of a wet composite insulator from about 7 to 3.4 in roughly 15 minutes. Over time, that acid attack can erode the rubber and damage the end fitting seal.
Hot hardware
Thermal images can show heat at pins, ties, clamps, and end fittings. Heat at a connection usually points to a loose or degraded contact that needs a closer look.
| Defect | Common on | What it looks like in drone imagery | Best sensor |
|---|---|---|---|
| Cracks and chips | Porcelain, glass | Missing material, fracture lines, broken skirts | RGB |
| Flashover marks | All types | Scorching, tracking lines, damaged glaze | RGB |
| Contamination | All types | Dull, coated, or streaked surfaces | RGB |
| Polymer shed damage | Composite | Erosion, splits, pecked or torn sheds | RGB |
| Hot hardware | Pins, ties, end fittings | A hot spot compared with similar nearby parts | Thermal |
RGB or thermal: which camera finds insulator problems?
RGB finds most insulator defects, because cracks, burns, contamination, and shed damage are visible problems. Thermal is the better tool for heat at connections and hardware. Programs that capture both and review them side by side catch more than either camera alone, and they spend less time arguing over unclear images.
Utileyes supports side-by-side RGB and thermal review, so a reviewer can compare the same insulator in both views without hunting for matching files.
Thermal findings are easier to judge when you compare like with like. Look at the three phases on the same structure, or the same part on the next pole. A single hot reading means more when its neighbors are cooler.
For a deeper look at heat-based findings, see our post on thermal drone inspection software for utilities.
How should pilots capture insulators so reviewers can judge them?
Capture every insulator from at least two sides, at a consistent angle and distance, with the whole insulator in frame. Shoot the same sequence on every pole. Consistency lets reviewers compare structures quickly and spot what is different, instead of guessing whether a mark is damage or just a bad angle.
A few field habits make insulator review faster:
- Shoot both sides. Damage on the back of a skirt is invisible from the front.
- Keep the order fixed. For example, top view, then each phase from one side, then the other side.
- Fill the frame. A reviewer should be able to zoom in on a shed without the image falling apart.
- Grab context. One wider shot of the full crossarm helps the crew plan the repair.
- Tie it to the asset. Every photo needs to land on the right pole record.
That last point is where many programs lose time. In Utileyes, drag-and-drop uploads are auto-organized by GPS location and asset ID. Built-in QA flags mismatched or misplaced images during upload, so a photo of pole 41 does not end up filed under pole 42.
Our earlier post on setting up a drone inspection shot list covers mission planning in more detail.
How do you turn insulator findings into prioritized work?
Tag each insulator finding by severity using your utility's own standards, then send the highest-priority items straight to a crew. A cracked insulator in a high-risk area should not wait in the same queue as light contamination. Severity tags let supervisors sort the list and dispatch the work that matters first.
Utileyes lets each utility set severity tagging by outage risk, fire hazard, or safety priority. Customizable inspection forms let you add insulator-specific fields, such as insulator type, defect type, and phase.
From there, findings move into the systems your team already uses. Utileyes integrates with existing GIS and work order systems rather than replacing them. It also offers CSV export compatible with ArcGIS/ESRI. You can see the full flow on the How It Works page.
What does this look like in the field?
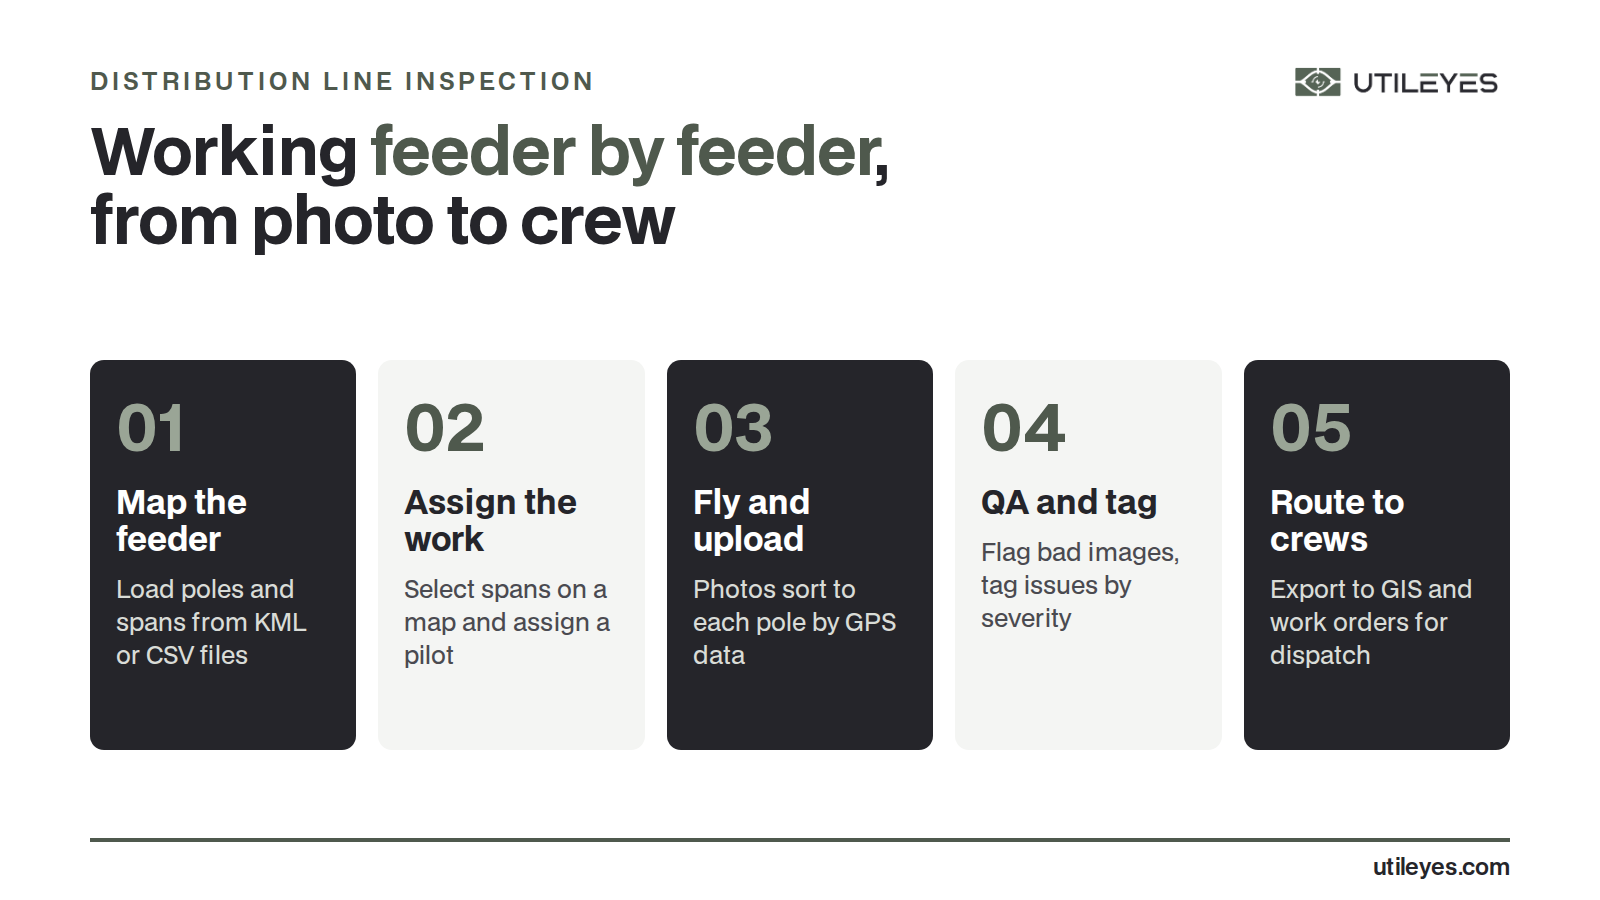
Here is how an insulator review typically flows in Utileyes. Pilots fly assigned poles from a map, then drag and drop the photos. The software sorts every image by GPS location and asset ID and flags anything that looks misfiled.
A reviewer opens each pole, checks each insulator against the five-defect checklist, and tags anything found by severity. High-priority findings go to a crew. Utileyes is built to take a utility from photo captured to crew dispatched in as little as 15 minutes.
The platform was built with utility linemen and drone pilots. Its founders personally flew more than 10,000 utility inspections, and the leadership team has more than 50 years of combined utility operations experience. That field background shapes small things, like keeping the insulator review fast enough that crews actually use it.
Running insulator inspections in-house with Utileyes comes in at about 50% lower inspection cost than outsourcing to vendors.
Frequently Asked Questions
Can a drone inspect insulators on energized lines?
Yes. Drones photograph insulators from a standoff distance without touching the line, which is a main reason utilities use them. Pilots still need to follow their utility's clearance and safety rules for flying near energized equipment.
What defects can drones find on insulators?
Drones can show cracks, chips, broken skirts, flashover and burn marks, surface contamination, and polymer shed damage. With a thermal camera, they can also show abnormal heat at pins, ties, and end fittings.
Can a drone find internal insulator defects?
Not directly. Drone cameras show surface damage and heat patterns. Internal defects in composite insulators may need dedicated electrical test tools, such as the hot-stick detector EPRI developed.
Do I need thermal imagery for insulator inspections?
RGB finds most physical insulator damage. Thermal adds value for spotting heat at connections and hardware. Many programs capture both and review them side by side.
How should insulator findings be prioritized?
Use your utility's own severity standards, such as outage risk, fire hazard, or safety priority. Tag each finding when it is reviewed so supervisors can dispatch the highest-risk work first.
Put Your Insulator Checklist to Work
An insulator inspection drone only pays off when every photo lands on the right pole and every finding reaches a crew. Utileyes handles both, from organized uploads to severity tagging and dispatch.
Schedule a demo to see how your team can review insulators faster and send crews where they are needed first.